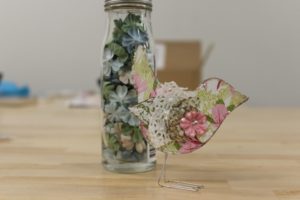
If you missed the January Adult Make-n-Take, but would like to make a bird of your own, check out the following steps to get started!
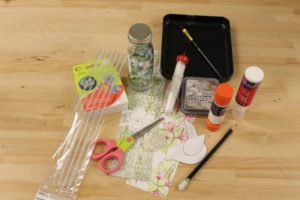
These are the items used to make the bird pictured above, but not all of these items are required.
Using a bird pattern of your choice, trace two birds and two wings on the back side of patterned paper. Be sure to flip the bird image for opposite direction when tracing. If pattern on the paper is directional (for example, when using pages from an old book), be aware of pattern placements.
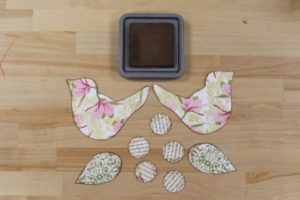
Using ink color of your choice, ink edges of birds, wings, and other wing embellishments (if desired).
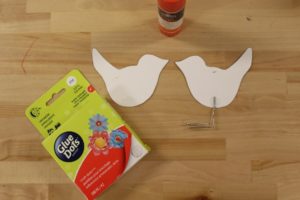
Adhere a glue dot to the bottom of the “wrong” side of each bird.
Open up each paperclip (the smaller part), and straighten.
Press straight section of paperclips onto glue dot, making sure the “feet” are facing the same direction as the bird. Make sure “feet” are even with each other.
Using a glue stick, glue both sides of the bird together.
Adjust paper clips to make the bird stand. This may take some manipulation, but don’t give up!
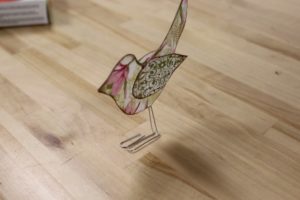
Glue one wing to each side of the bird body.
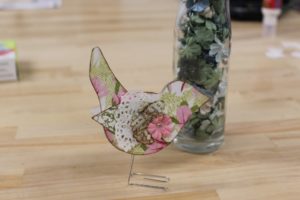
Decorate one (or both) wings.
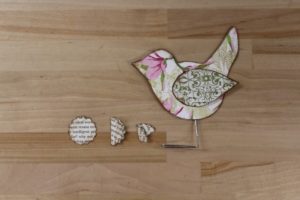
To make “feathered” book page decorations, punch flower shapes from old book pages. For this bird, three flowers were used.
Fold each flower in half.
Then fold each halved flower in half again, but make the fold line off center (see image above).
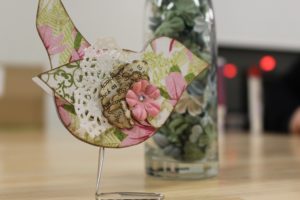
Adhere all decorative items to wing according to your choice and design.
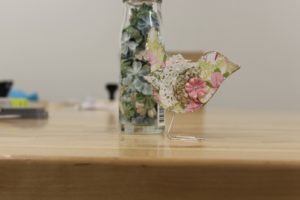
For bling, use liquid glue on desired locations of the bird and sprinkle with glitter.
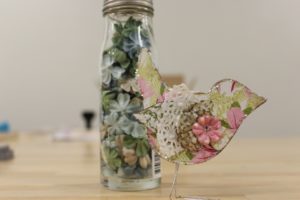
Enjoy your cute bird!
(If you prefer to not have it stand, skip the glue dot and paperclip steps. Punch a hole at the top of the bird’s body and hang with a ribbon or string.)
Be sure to attend the next Make and Take, February 12 10 am – Noon.


